Lab 01 - Install Windows 7 on a VMware Workstation
Yaser Rahmati | یاسر رحمتی
Last updated
Yaser Rahmati | یاسر رحمتی
Last updated
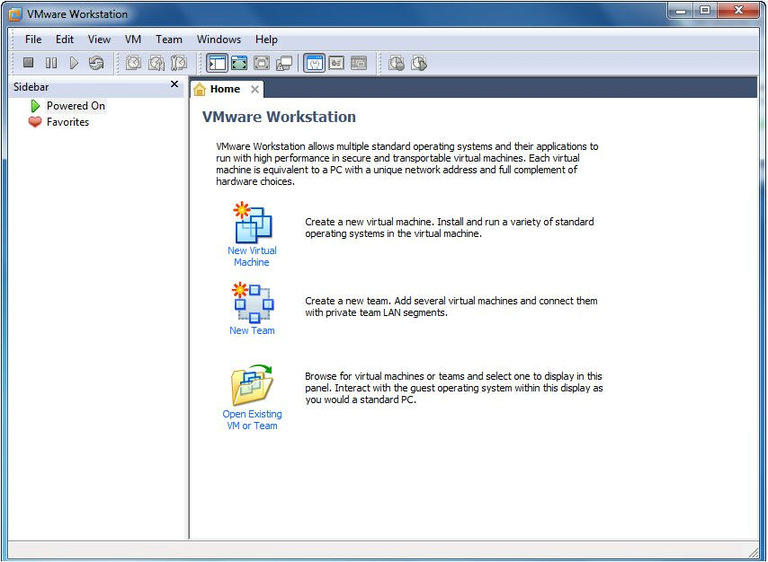
There are many kinds of virtual machine software given on the internet. VMware Workstation and Virtual PC are the most widely-used especially VMware Workstation. Get VMware Workstation and install it into your computer. The way to install is similar to the way to install other software.
After you install VMware Workstation successfully you can find its shortcut icon on your desktop. You just need to double-click it to run the program so that you can create virtual machines.
Next, click File | New | Virtual Machine. A wizard appears to create a new virtual machine as shown in Figure 2.
Click "Next" and choose how you want to load Windows 7. You can load it from installation media (DVD) or you can use an ISO image. For the purposes of this article, we will use an ISO image (Figure 3).
Next, select "Installer disc image file (ISO)" and browse to where your Windows 7 ISO image resides. Click “Next” and enter the Windows 7 product key (Figure 4).
Note: You can optionally personalize Windows 7 with a user and password.
Click "Next", and enter a virtual machine name and choose a location for your virtual machine to reside. You can simply accept the defaults and move forward in the installation (Figure 5).
Click "Next" and accept (Figure 6) the default disk size of 40 GB. You can increase or decrease this size as you see fit.
Experimenting with different sizes will help you obtain your sweet spot for all Windows 7 virtual machines. Additionally, you have the option of splitting the virtual machine into 2 GB files; this will help when moving your virtual machines between computers.
Click "Next" and you can customize your virtual machine hardware prior to beginning the Windows 7 virtual machine Operating System (OS) load (Figure 7).
For example, you can add disks, serial ports, and printers. You can also remove unnecessary hardware such as floppy drives and sound cards (Figure 8).
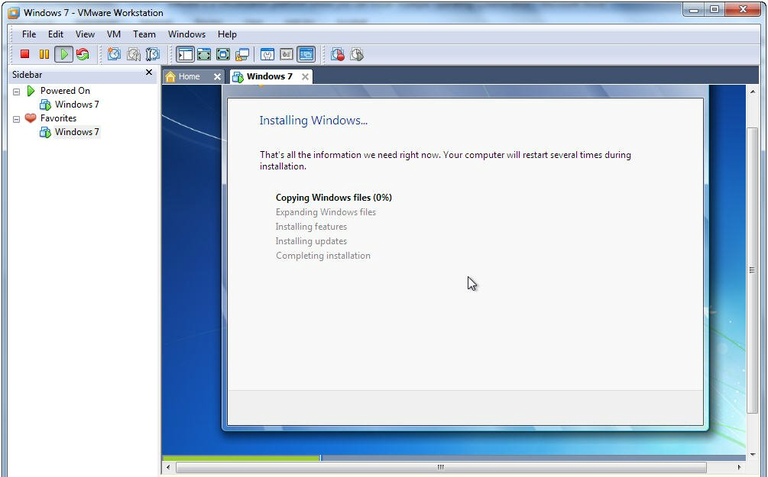
Click OK and Finish and Windows 7 begins to load (Figure 9). Since you entered the product key, VMware Workstation enters an "Easy Install" mode. Just sit back, relax, and a Windows 7 virtual machine is installed.
virtualization, VMware Workstation, hypervisor, virtual machine, VM, cloud computing, guest OS, host OS, snapshot, virtual network, vSphere, ESXi, vCenter, VDI, thin provisioning, virtual disk, ISO image, virtual hardware, VM clone, VM migration, VM snapshot, virtual appliance, VM performance, virtual CPU, virtual RAM, nested virtualization, VM template, virtualization security, VM backup, VM restore, VM monitoring, vMotion, VMware Tools, VM replication, storage virtualization, network virtualization, software-defined data center, VM encryption, virtual lab, virtual switches, VM provisioning, VM compatibility, VM configuration, VM optimization, VM isolation, resource allocation, virtual infrastructure
مجازیسازی, VMware Workstation, هایپروایزر, ماشین مجازی, VM, رایانش ابری, سیستمعامل مهمان, سیستمعامل میزبان, اسنپشات, شبکه مجازی, vSphere, ESXi, vCenter, VDI, نازکسازی, دیسک مجازی, تصویر ISO, سختافزار مجازی, کلون VM, مهاجرت VM, اسنپشات VM, وسیله مجازی, عملکرد VM, پردازنده مجازی, RAM مجازی, مجازیسازی تودرتو, قالب VM, امنیت مجازیسازی, پشتیبانگیری VM, بازیابی VM, مانیتورینگ VM, vMotion, ابزار VMware, تکرار VM, مجازیسازی ذخیرهسازی, مجازیسازی شبکه, مرکز داده نرمافزاری تعریف شده, رمزگذاری VM, آزمایشگاه مجازی, سوئیچهای مجازی, تأمین VM, سازگاری VM, پیکربندی VM, بهینهسازی VM, جداسازی VM, تخصیص منابع, زیرساخت مجازی
🌐 Personal Website 📄 Resume 🎥 Video Archive 💼 Finance Blog 🔐 Network & Security Notebook 🎬 Aparat Channel

